
How to Write Geotechnical Reports: Structure, Standards & Best Practices
Every geotechnical project ends the same way: someone has to write the report. The drilling is done, the samples are tested, the analysis is complete, and now all of it has to come together in a document that an owner, architect, structural engineer, or DOT reviewer can act on with confidence. For many firms, this is where projects slow down, because the information that feeds the report is scattered across field notebooks, lab spreadsheets, and boring log files that live in three different systems.
This guide covers how to write geotechnical reports efficiently while meeting and exceeding quality requirements: what goes in them, how to structure them, and how to make the process faster without compromising the standard of care.
Purpose of the Geotechnical Report
A geotechnical report communicates what is under the ground and what that means for the project being built on top of it. It translates subsurface investigation data into engineering guidance:
- How deep foundations need to go
- What bearing capacity the soil can support
- Where groundwater sits
- What risks the site presents
The Federal Highway Administration's guidance on quality in geotechnical reporting makes a point worth underlining here: the report exists to communicate site conditions and recommendations, and communicating means much more than summarizing. The ASCE Manual of Practice MOP 154, Geotechnical Baseline Reports: Suggested Guidelines, reinforces this by providing a framework for how subsurface data should be presented to allocate risk clearly and fairly between project parties.
It's also a legal engineering document. When settlement issues, foundation problems, or slope failures show up years after construction, the geotechnical report is one of the first things attorneys request. Every recommendation in it needs to trace back to data, and every data point needs to trace back to a documented field or lab procedure.
The Standard Structure of a Geotechnical Report
While formats vary by firm and by client requirements, most geotechnical reports follow a consistent structure:
Project & Site Background
The project description, proposed construction, site location, and scope of the investigation. This section frames everything that follows. A reviewer should understand what was built or proposed and why the investigation was scoped the way it was. This section also identifies who the report is for and who retains the right to use the recommendations in the report.
Field Investigation
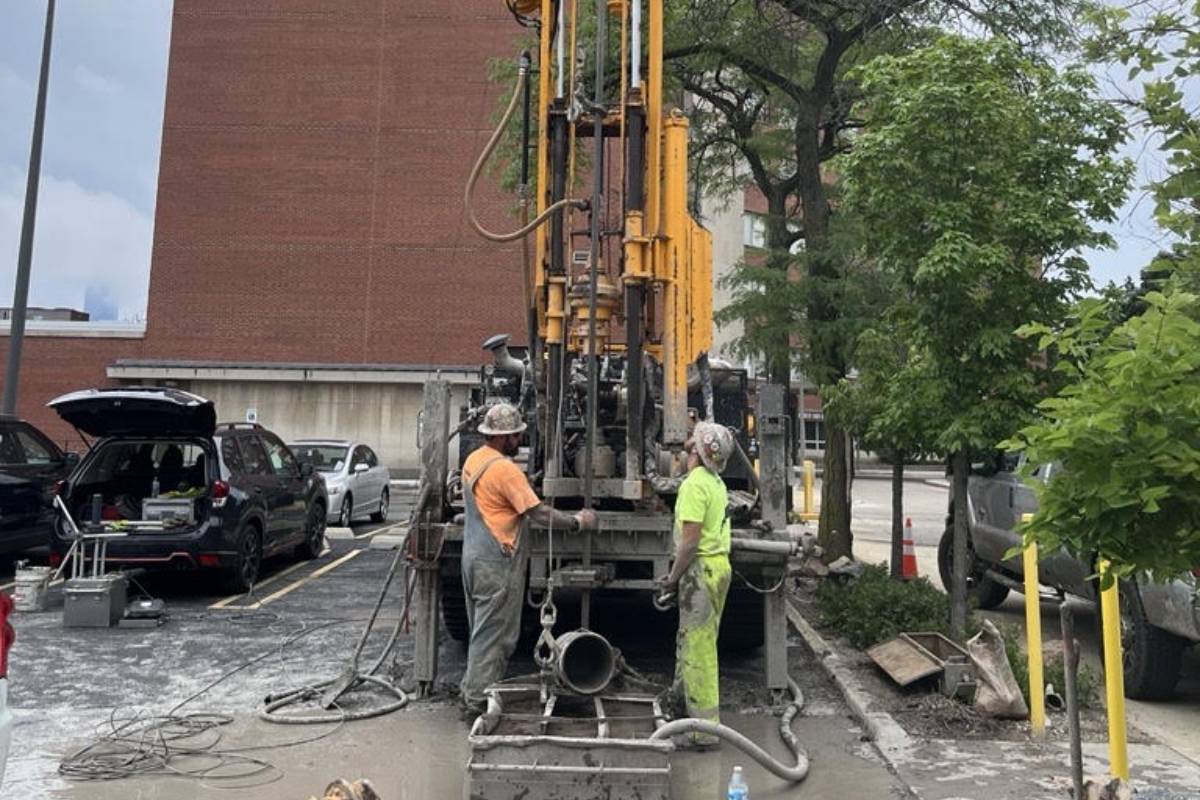
The number, location, and depth of borings, the drilling methods used, sampling procedures, and field testing performed. This is where soil boring logs enter the report, and they carry a lot of weight. A reviewer who wants to check your recommendations goes straight to the logs. If you need a refresher on what reviewers see there, here's how to read a soil boring log section by section. The FHWA considers subsurface investigation so central that its review checklist for geotechnical reports flags boring logs and lab data among the items so vital that a missing one is grounds to go back to the geotechnical engineer for clarification.
Laboratory Testing
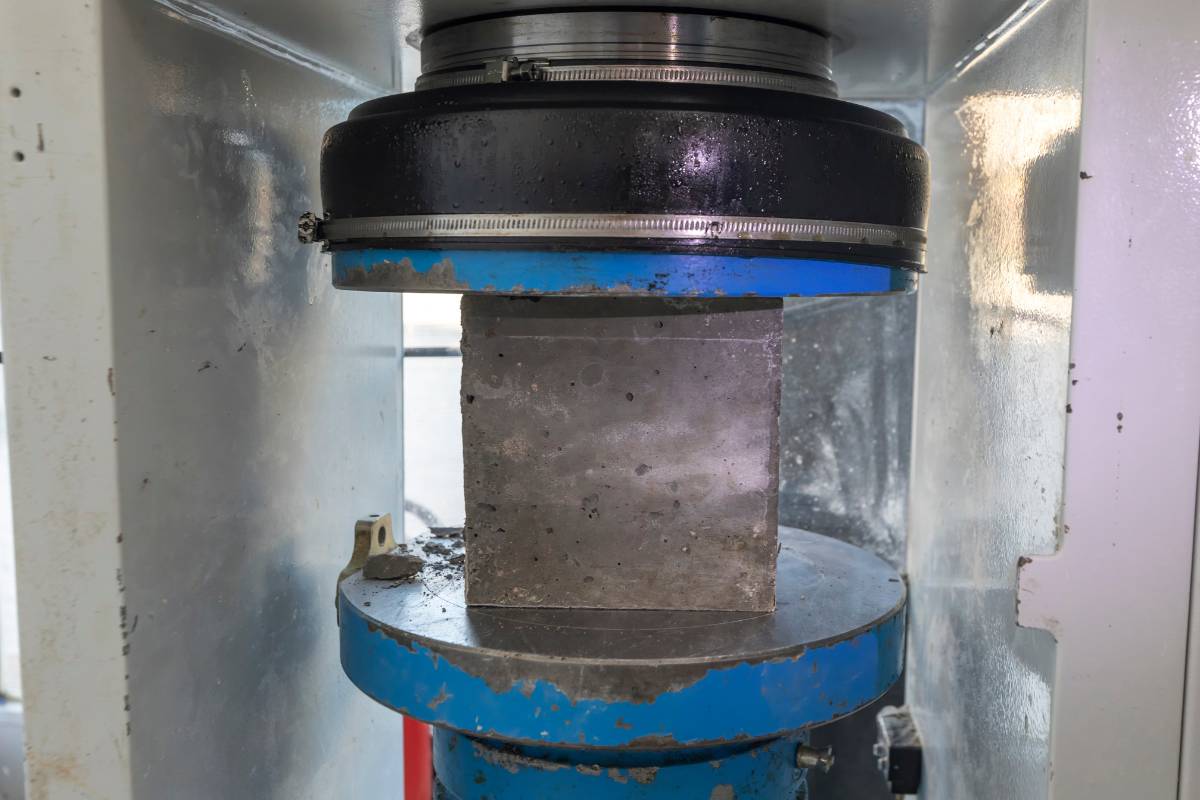
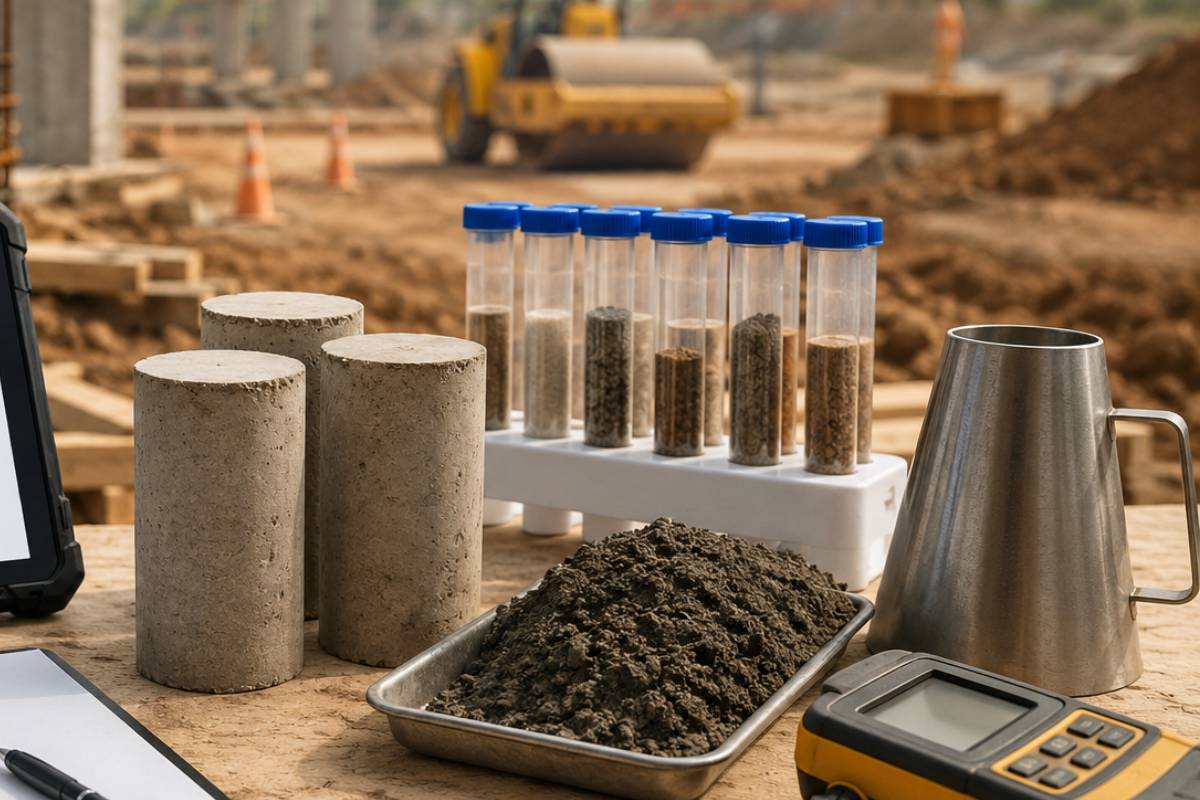
The tests performed on recovered samples, the standards followed, and the results. Routine testing typically includes moisture content (ASTM D2216), Atterberg limits (ASTM D4318), and Proctor compaction (ASTM D1557). For projects where settlement, drainage, or shear strength are critical design considerations, more specialized testing is often required, including consolidation testing (ASTM D2435) to evaluate compressibility and long-term settlement potential, permeability testing (ASTM D5084) to characterize drainage characteristics of soils, and direct shear testing (ASTM D3080) to determine the shear strength parameters used in slope stability and foundation design.
Lab data should connect cleanly to the boring logs so a reader can trace any sample from the ground to the test result. Omnant keeps all test data, including consolidation, permeability, and direct shear results, organized within the same connected system and linked directly to field records through the BoreDM integration, eliminating the manual reconciliation that creates errors and delays.
Subsurface Conditions
A narrative synthesis of what the borings and lab work found: soil stratigraphy, groundwater conditions, and any anomalies. This section turns raw data into a site picture.
Analysis & Recommendations
The engineering heart of the report. Foundation type and depth, allowable bearing pressures, settlement estimates, seismic considerations, earthwork and compaction requirements, and construction considerations. Every recommendation here should be supportable by the data sections above it.
Limitations
A statement of what the investigation did and did not cover. Subsurface conditions between borings are interpolated, not observed, and the limitations section makes that explicit. The Geoprofessional Business Association publishes a widely used report cover sheet dedicated entirely to explaining these limitations to readers, which says a lot about how important, and how often misunderstood, this section is.
Appendices
Boring logs, lab data sheets, site maps, and test figures. For many reviewers, this is the most-read part of the report.
Where Geotechnical Reports Go Wrong
The most common problems in geotechnical reports are rarely analytical. They're data problems that happen long before the writing starts.
A boring log that doesn't match the lab data attached to it. A sample ID that appears in the lab results but not in the field records. Moisture contents that were run but never made it into the report because the results lived in a spreadsheet nobody checked. Depth intervals transcribed incorrectly from a field notebook. Each of these forces the report writer to stop, chase down the discrepancy, and reconcile records that should have agreed from the start.
That reconciliation work is invisible on the invoice but very real on the calendar. It's also the source of most report revisions. When a reviewer catches an inconsistency between a log and a lab result, the whole report's credibility takes the hit, even if the engineering was sound.
Better Data Management Makes a Better Report
Here's the part most guides skip: the quality of geotechnical reports is set before anyone starts writing them. A report built on clean, connected, traceable data comes together in a fraction of the time and stands up to a much harder review.
That's where the right software makes a practical difference. Omnant connects field data collection and lab testing and reporting in a single system, so the sample a driller logs in the field arrives at the lab with its project, location, and depth information already attached. Lab results tie back to the same record. Nothing gets re-entered, which means nothing gets re-entered wrong.
For boring logs specifically, Omnant's BoreDM integration keeps subsurface data flowing between logging and the rest of the testing workflow, so the logs in your appendix and the lab data in your tables come from the same connected source instead of two systems that have to be manually reconciled.
The payoff shows up in the writing stage. When the report author sits down, the field records, lab results, and logs already agree with each other. The narrative sections practically assemble themselves because the underlying data is organized, complete, and traceable. And when a reviewer or an attorney asks how a number was generated three years later, the answer is in the record, not in someone's memory.
Best Practices Worth Building Into Your Process
A few habits separate the reports that sail through review from the ones that come back with questions:
Write to the Reader, Not the File
Owners and architects read the recommendations. Structural engineers read the bearing capacity and settlement sections. DOT reviewers read the logs and lab data. Structure the report so each audience finds what they need without wading through what they don't.
Keep the Data Chain Intact
Every value in the report should trace to a lab record, and every lab record should trace to a field sample. If your systems make that traceability automatic, your reports inherit it.
Standardize Your Templates
A consistent report format across projects reduces writing time, simplifies internal review, and gives repeat clients a document they already know how to read.
State Your Limitations Clearly
A well-written limitations section protects the firm and sets honest expectations. It's not boilerplate. It's part of the engineering.
The Report Is the Product
For a geotechnical firm, the report is what the client actually buys. The drilling, sampling, and testing all exist to produce it. Geotechnical reports built on a connected data pipeline get written faster, reviewed more smoothly, and defended more easily when questions come up down the road.
Want to see how Omnant keeps field data, lab results, and boring logs connected from the first sample to the final report? Schedule a demo today.
Share this Post:
Related Blog Post
Start streamlining your inspection and CMT testing processes with Omnant's integrated solution. Contact us today to learn how our software can support your goals for operational excellence.